
LINUS6.4 & LINUS V-Series App#
1. Connecting to the amp#
1.1 Activating WiFi#
The LINUS Web App requires the integrated WiFi hotspot of the LINUS6.4 or LINUS V-Series amplifier to be active.
To enable WiFi on a LINUS6.4, please press and hold the Mute button on the frontpanel of the amplifier.
To enable WiFi on a LINUS V-Series amplifier, press the top of the touch screen to enter the Settings menu. In the Settings menu, enter the App Control menu and turn App Control on.
This will display a QR-Code which you can scan with your mobile device’s camera to automatically connect to the amplifier’s WiFi network.
1.2 Installing the App#
Once connected to the amplifier’s WiFi network, please open the web browser on your mobile device and enter the IP address 172.24.0.1. You will be prompted with a login page. At this point, you can install the LINUS Web App on your device. On Apple devices, this can be done by clicking the “Share” button and scrolling down to select the option “Add to Home Screen”. You can choose a name for the App and need to click “Add” in the top right corner afterwards. Now there should be an App with the CODA logo installed on your Home Screen.
Warning
If the App fails to connect on an Android device, enter the IP address into Chrome as http://172.24.0.1 to ensure that the browser does not silently use https.
1.3 Login#
Once you are connected to the amplifier’s WiFi and have opened the App, you will be prompted with a login screen. Click login to start controling the amplifier.
Warning
Like the Frontpanel Menu on CODA’s other amplifiers, the LINUS Web App can not be used at the same time as LINUS Control. There has to be only one Control instance (either the App or LINUS Control) modyfing the state of the amplifier at any given time. Otherwise changes made in LINUS Control will not be reflected in LINUS Control and vice versa, putting the device in a torn state that matches neither the App nor LINUS Control.
To ensure that only one Control instance is connected, the amplifier will disconnect the App and its WiFi hotspot once LINUS Control is connected to it. After LINUS Control is disconnected, the WiFi hotspot can be enabled and the App can be connected again.
2. Tabs#
2.1 Speakers Tab#
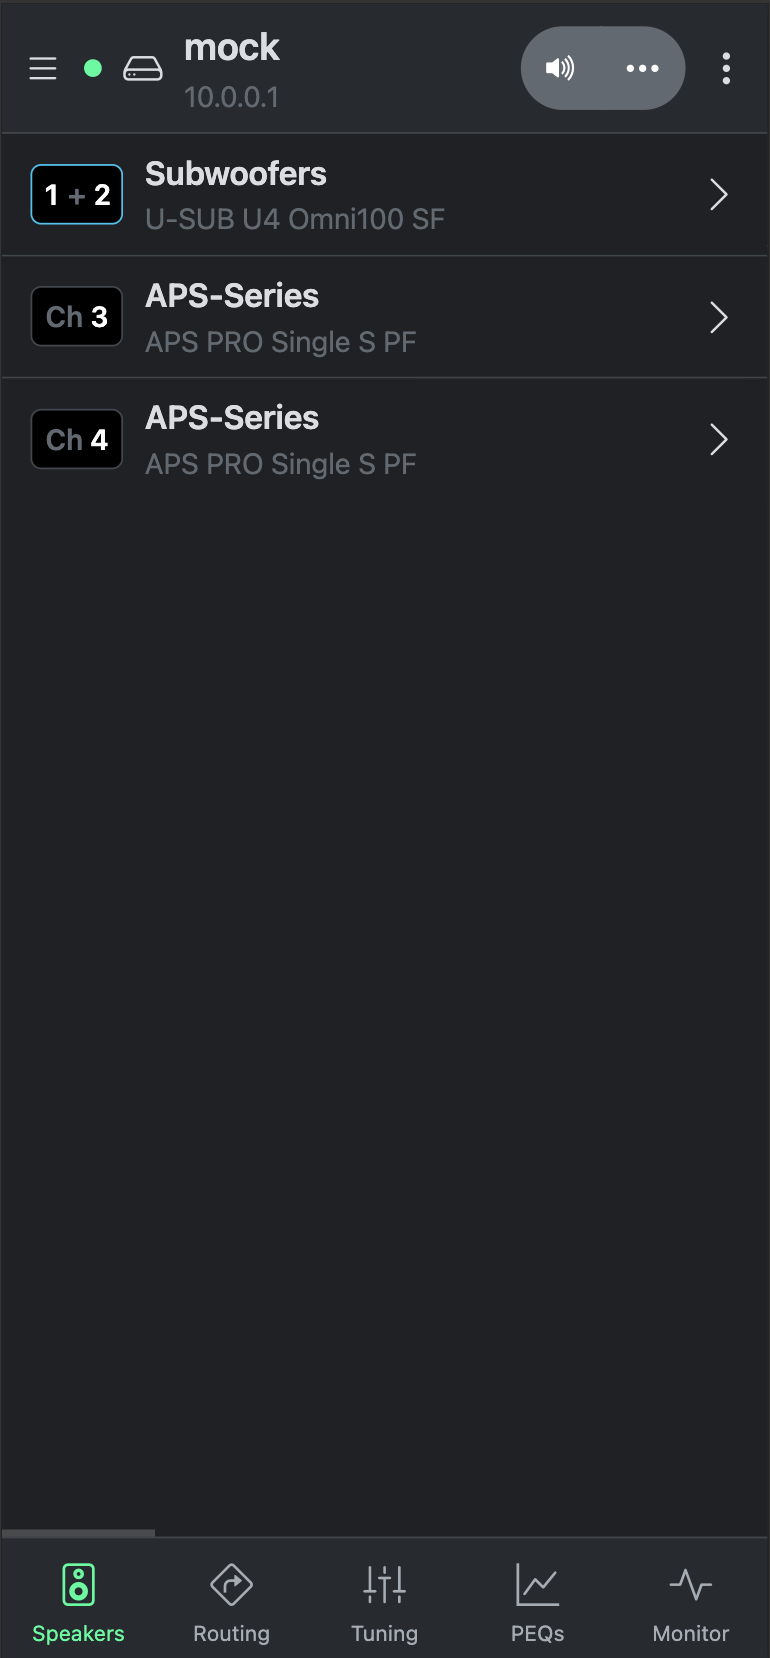
In the Speakers Tab, you can load speaker presets without connecting to LINUS Control. Clicking a channel opens the Preset list, containing all speaker presets that are currently supported for this amplifier. At the top of the Preset list, you can switch between Single-Ended (“Normal”) and Bridge Presets. Bridged channel pairs are displayed as one channel in the Speakers Tab (e.g.: “1+2”).
2.2 Routing Tab#

The Routing Tab offers the same input routing options that can be found in LINUS Control. At the top, you can switch between Analog and Digital inputs. To the right of each line in the Routing Matrix, there is a polarity invert switch for that amplifier output. If LiNET is selected as input signal type, the Analog Fallback Routing list appears below the Routing Matrix.
2.3 Tuning Tab#
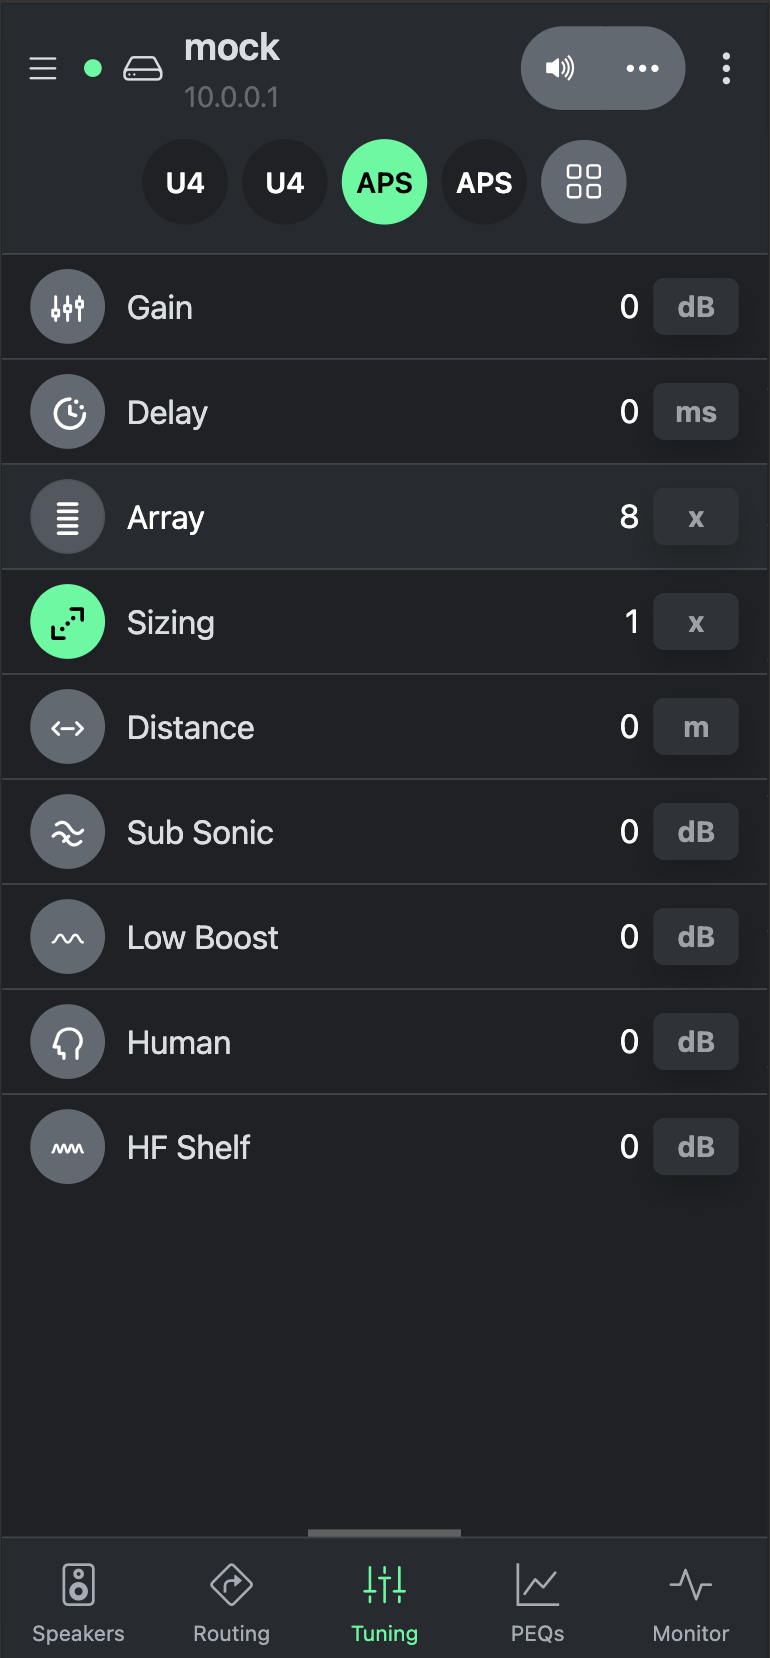
In the Tuning Tab, you will find the same Tuning Tools as in LINUS Control. Click on the abbreviated loudspeaker name at the top of the Tuning Tab to select that channel for tuning. To apply the same tuning parameters to multiple channels, channels can be grouped at the top of the page.

Clicking on the button right of the channel selection buttons will open the Grouping dialog.
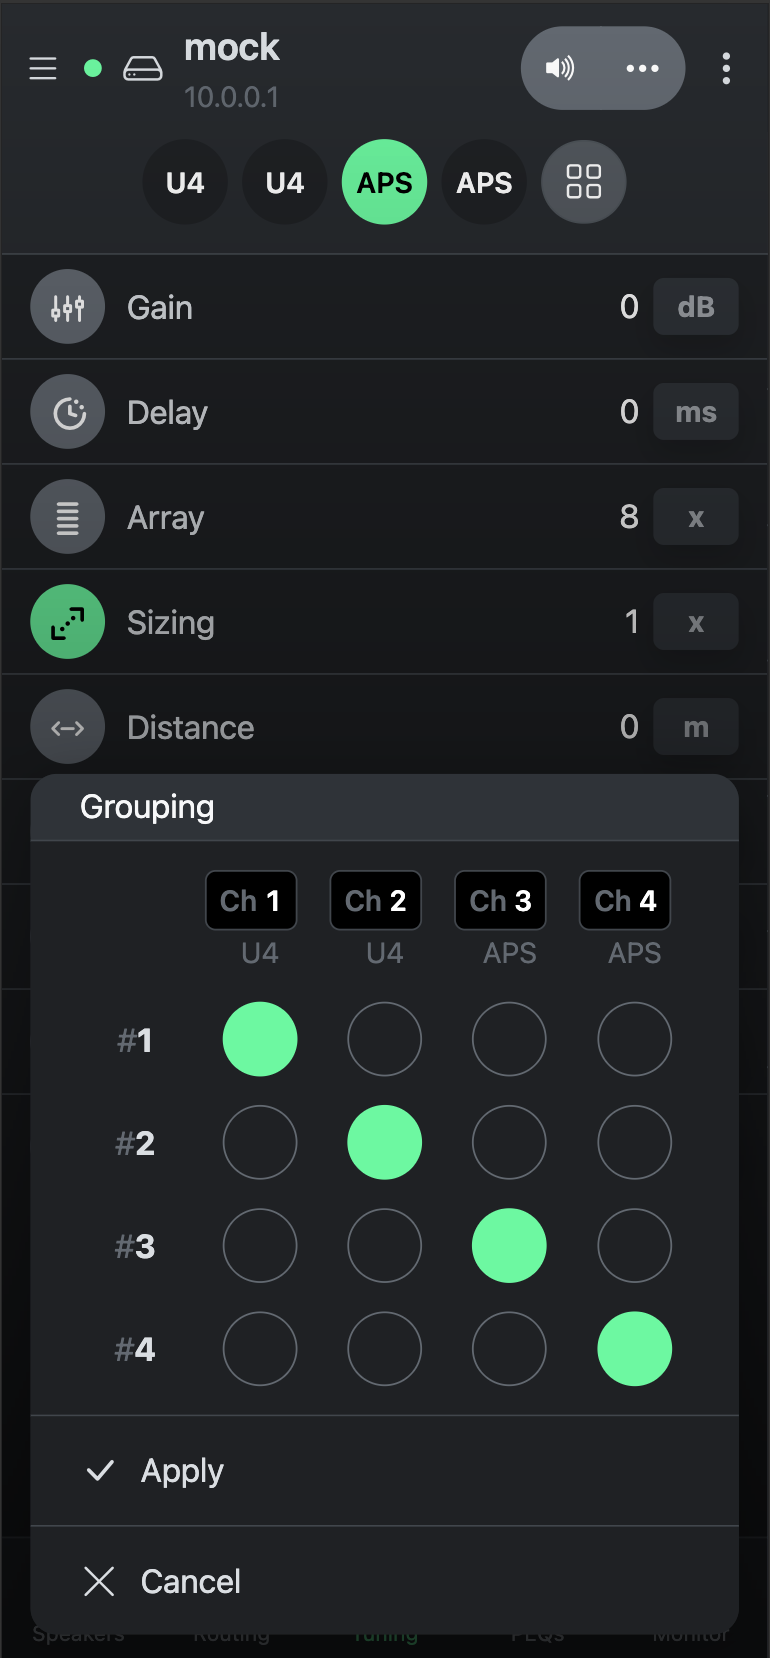
Here you can link multiple amplifier channels (columns) to one virtual Tuning Group (rows). The same Grouping logic applies to the PEQs Tab.
Pressing the unit behind a tuning value and dragging up or down opens a slider which can be used as an alternative way of adjusting tuning parameters.
2.4 PEQs Tab#
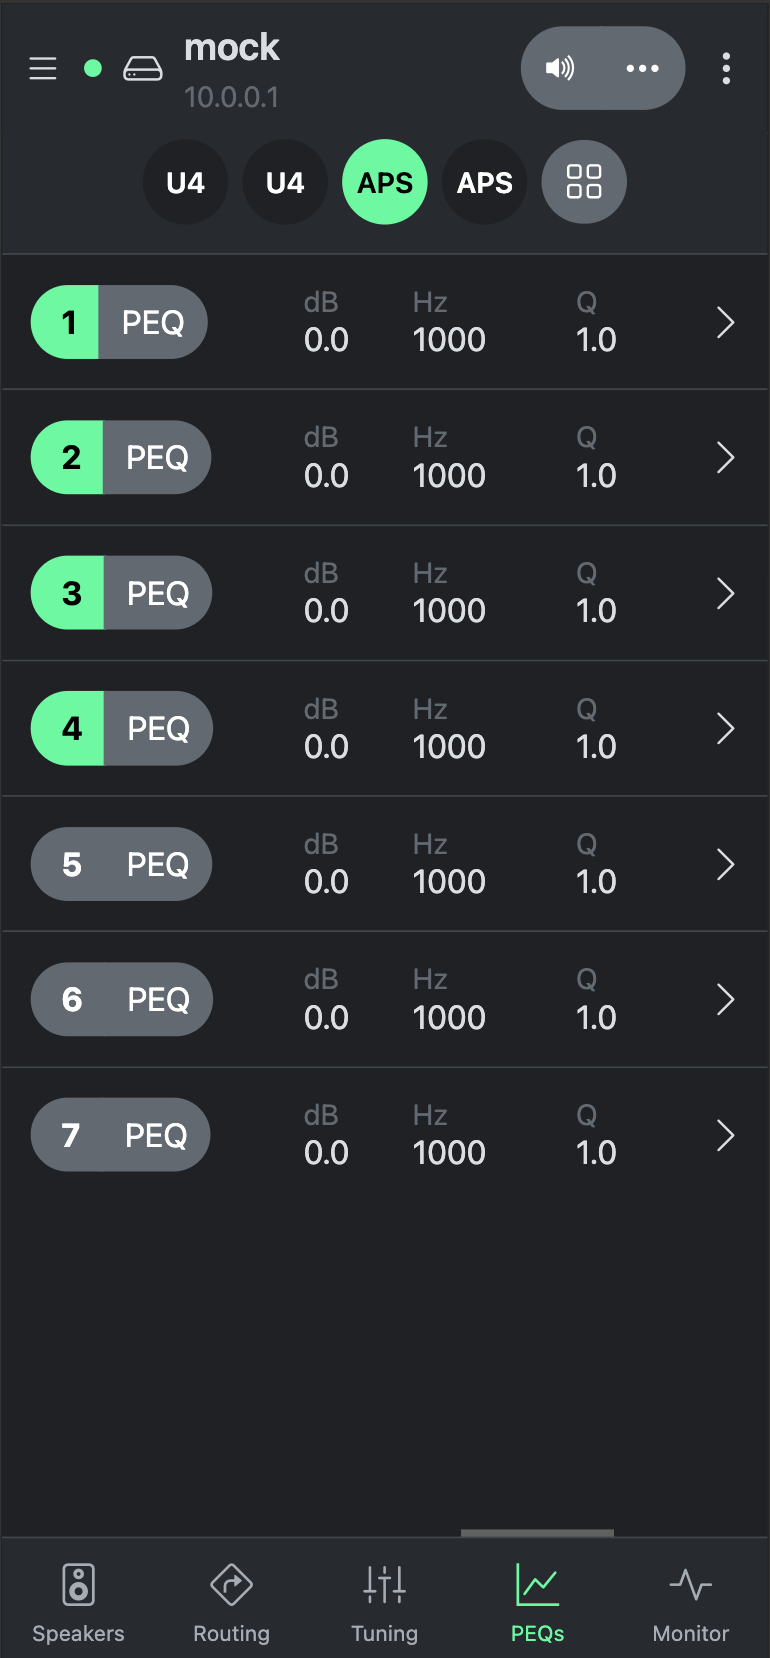
The PEQs Tab offers 7 additional parametric equalisers for each output channel. A PEQ is enabled if its number is highlighted in green. The filter type can be set to either Bell, High-Shelf or Low-Shelf. A PEQ can be adjusted by clicking its row in the PEQ list.
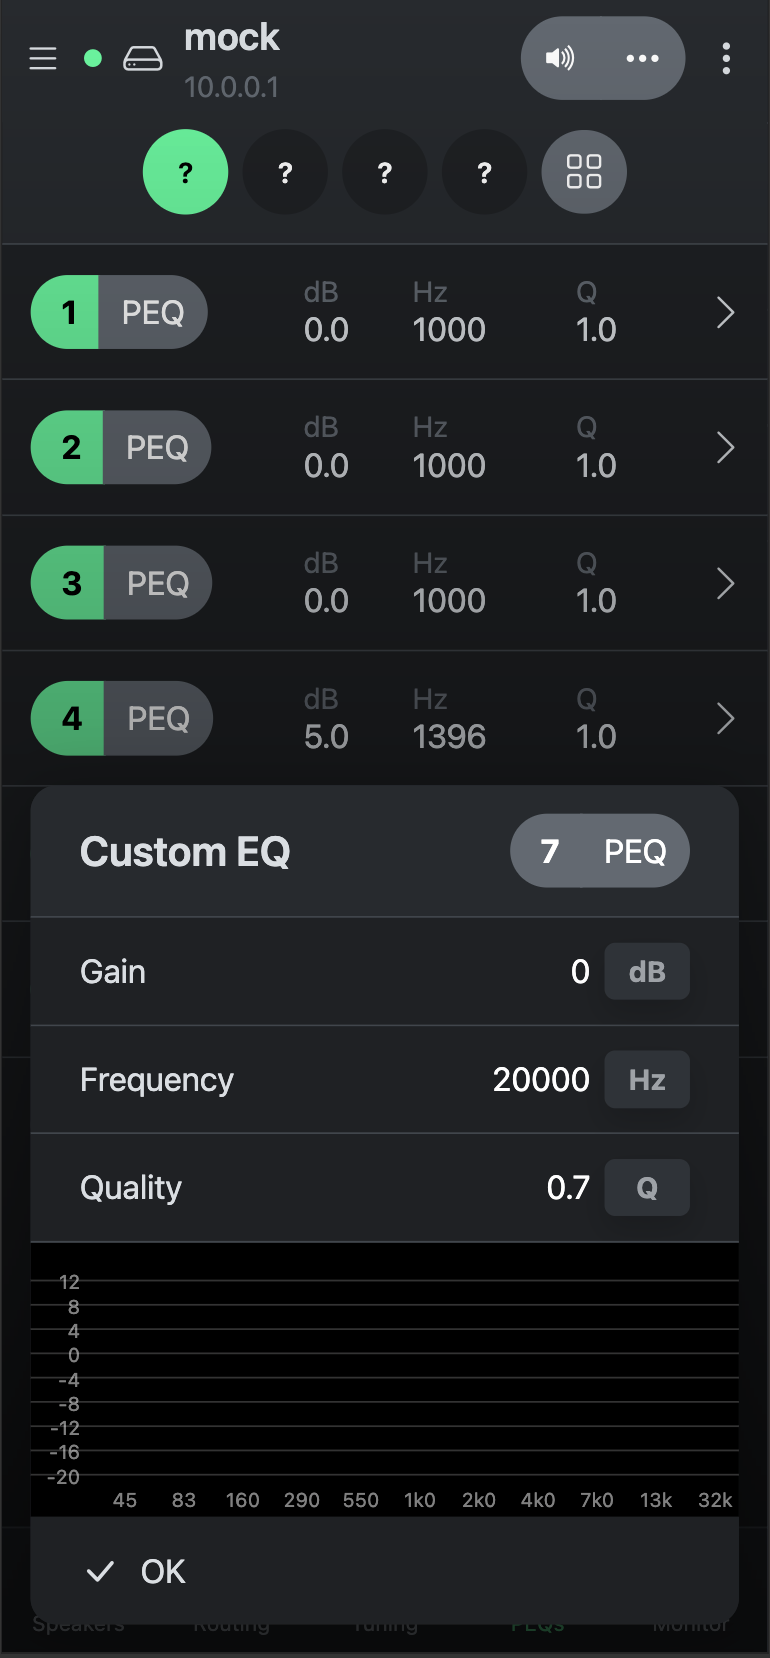
This will open a windows with parameters for filter type, gain, cutoff frequency and bandwidth. The Grouping logic in the PEQs Tab works the same as, and is mirrored in the Tuning Tab.
2.5 Monitor Tab#
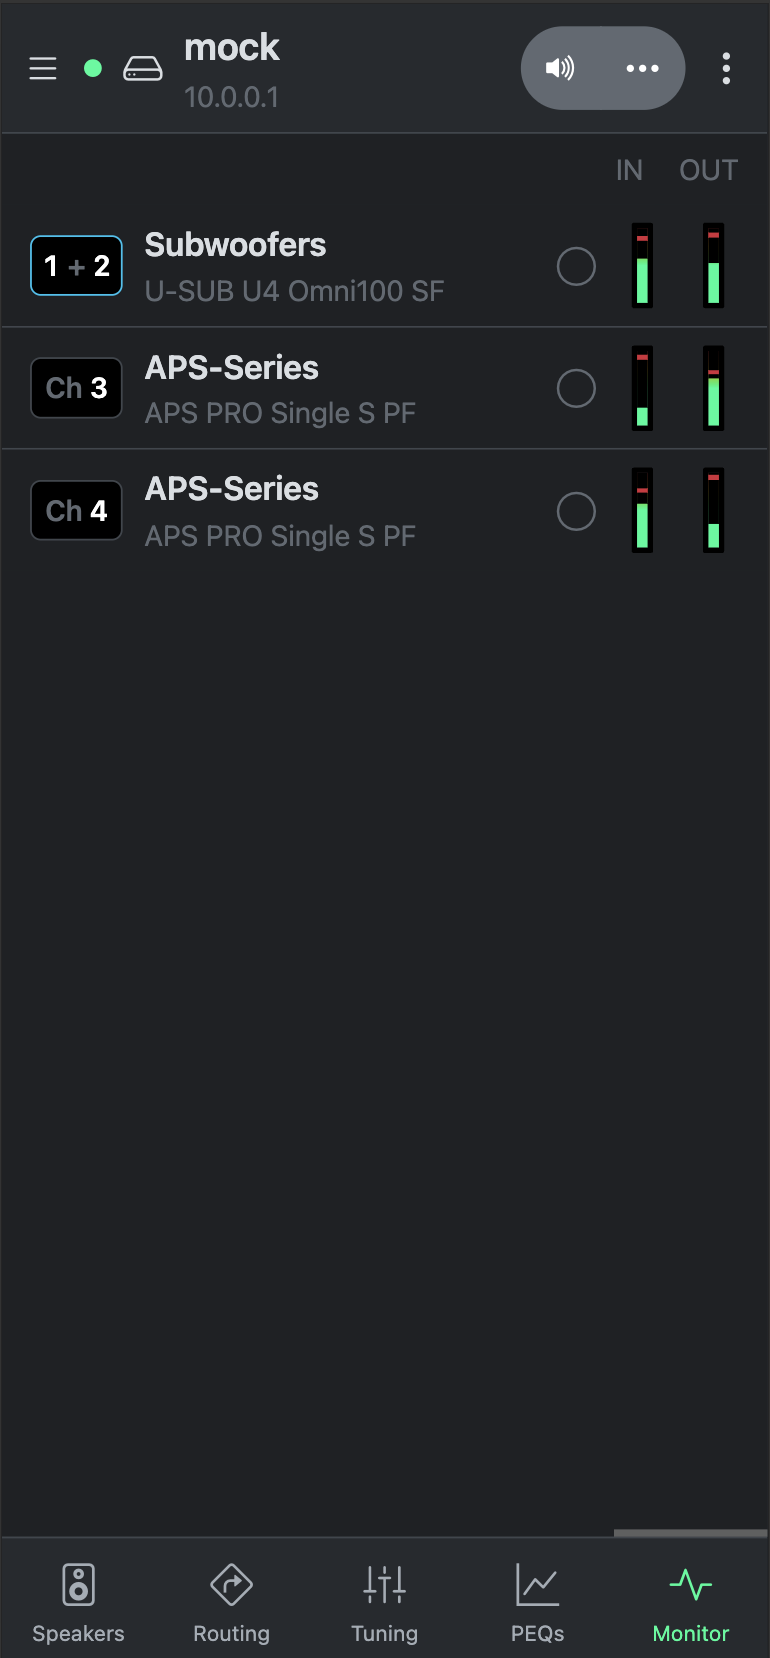
The Monitor Tab shows Input and Output signal levels of the individual amplifier channels. Bridged channel pairs are displayed as one output (“1+2” for example). Click a channels to open a more detailed meter view.
3.1 App Menu#
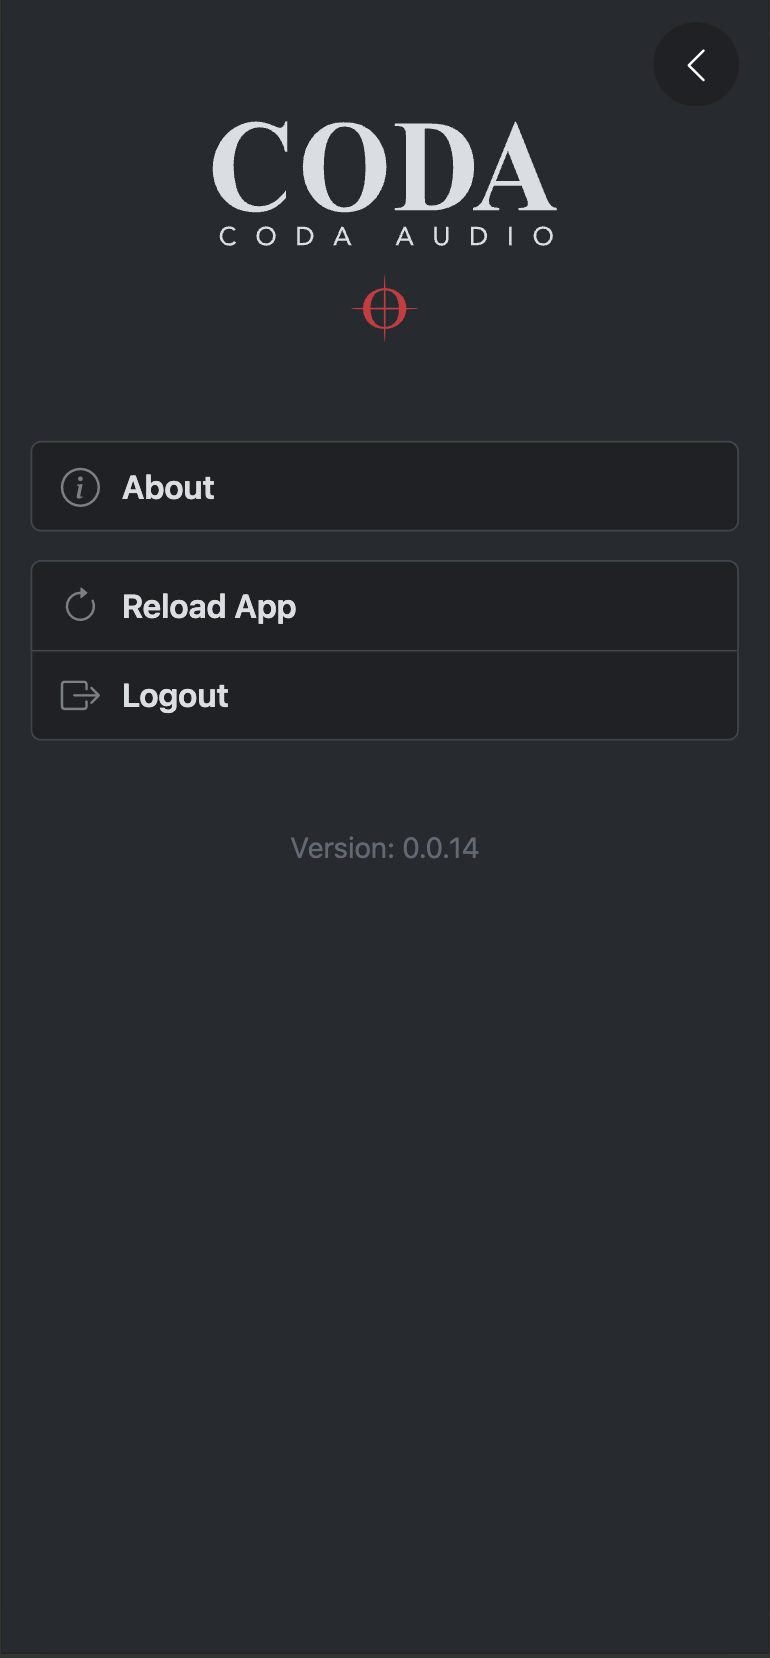
The button (three horizontal lines) in the top left of the App’s user interface opens the App menu. If the App ever get’s disconnected from the amplifier for whatever reason, please click the “Reload App” button. This will reconnect to the amplifier and refresh the current state.
3.2 Device Menu#

The three vertical dots in the top right of the App’s user interface open the Device menu. Here you can access additional functionality: “Identify Device” will flash the display of the amplifier, so you can verify that you are connected to the correct unit (same as Identify button in LINUS Control). “Shutdown Device” puts the amp into Standby (same as Power button on Amps page in LINUS Control).
3.3 Device Info#
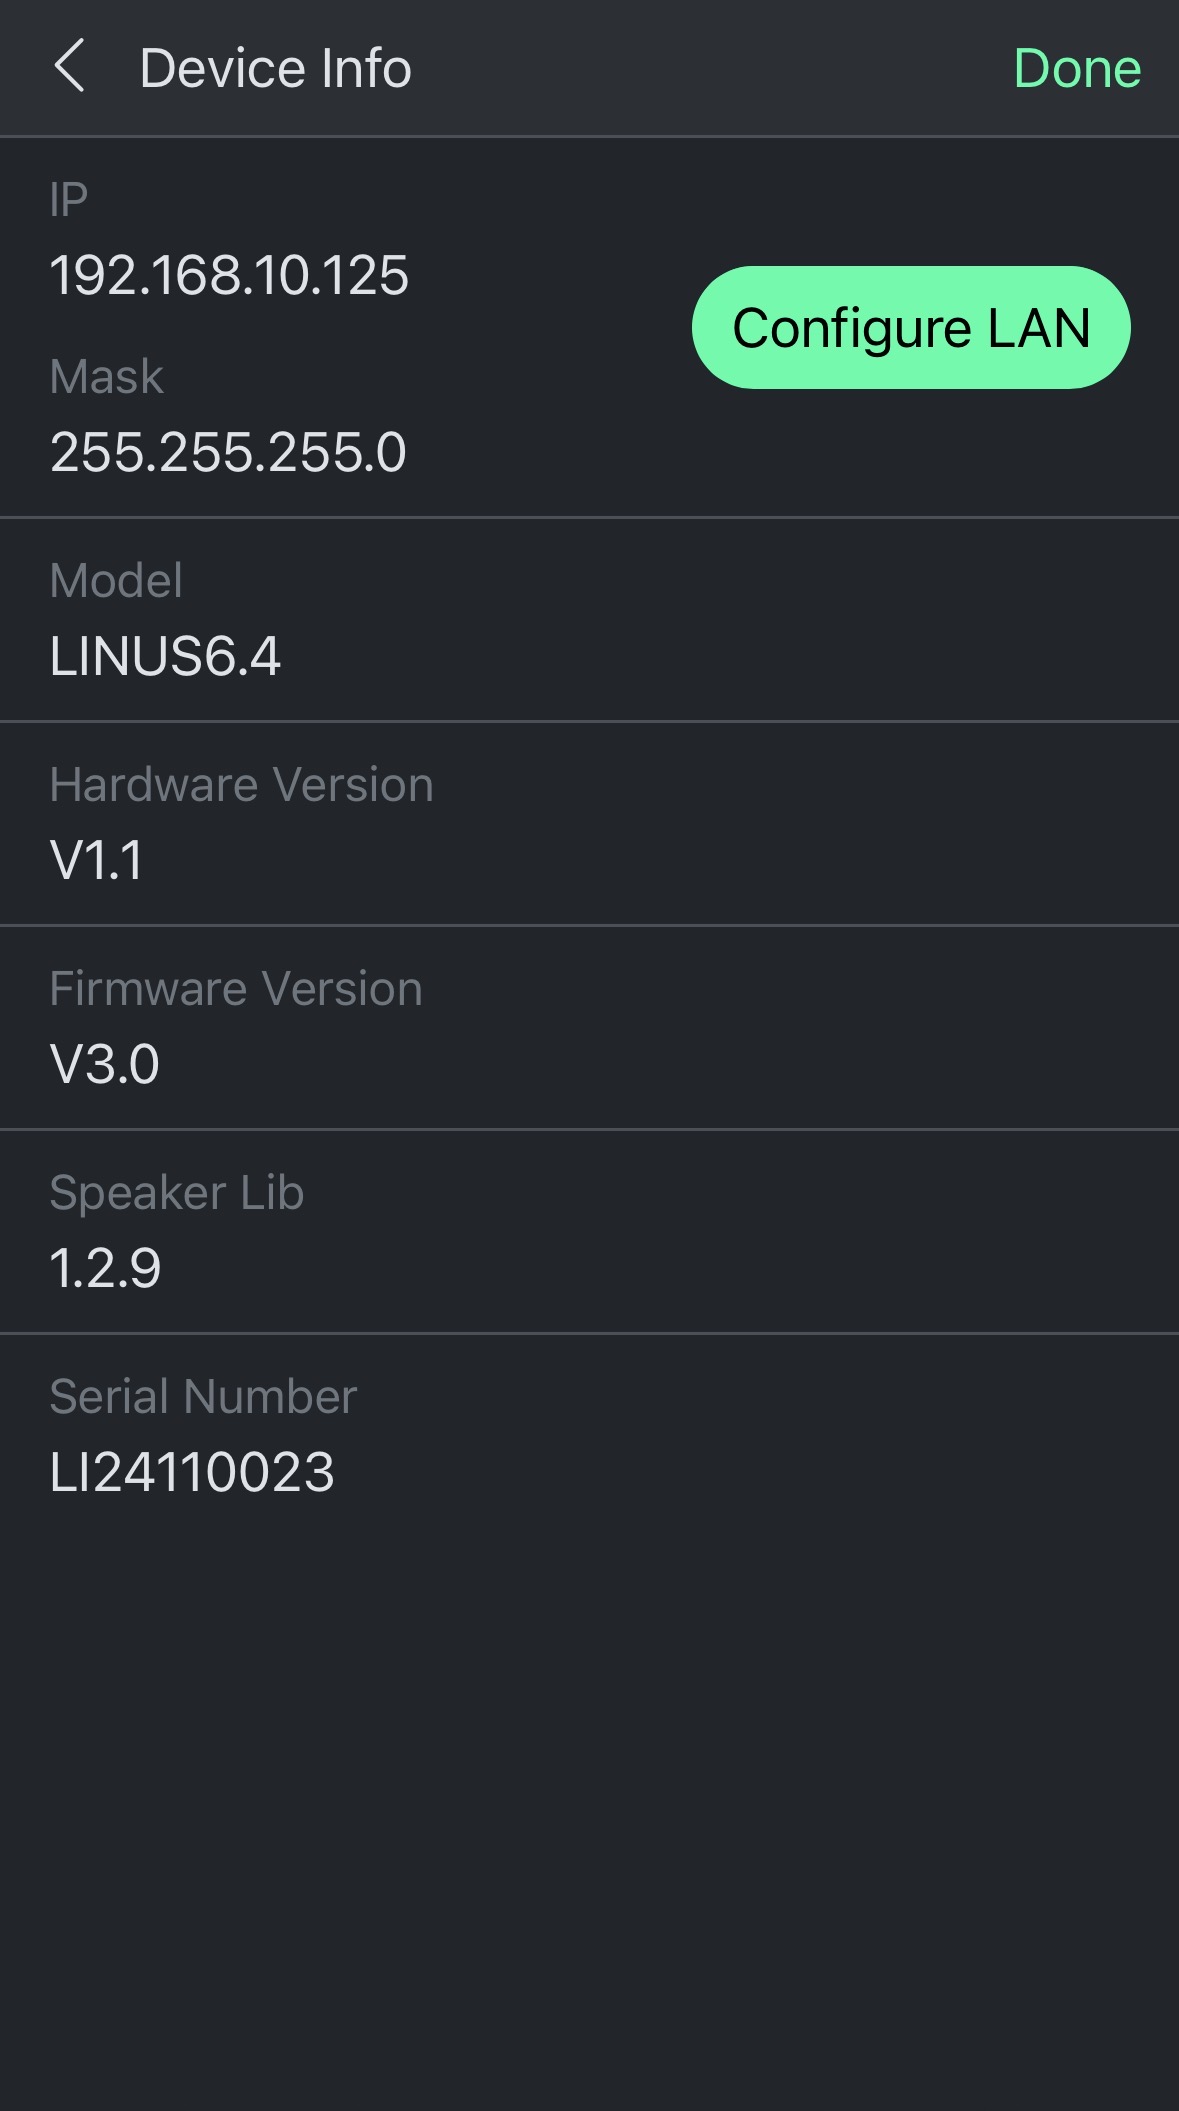
The Device Info page shows device specific information like hardware & firmware version, speaker library version, serial number, etc. It also shows the IP address and subnet mask the amplifier currently has configured on its Ethernet Control port (not on the WiFi network that the App uses).
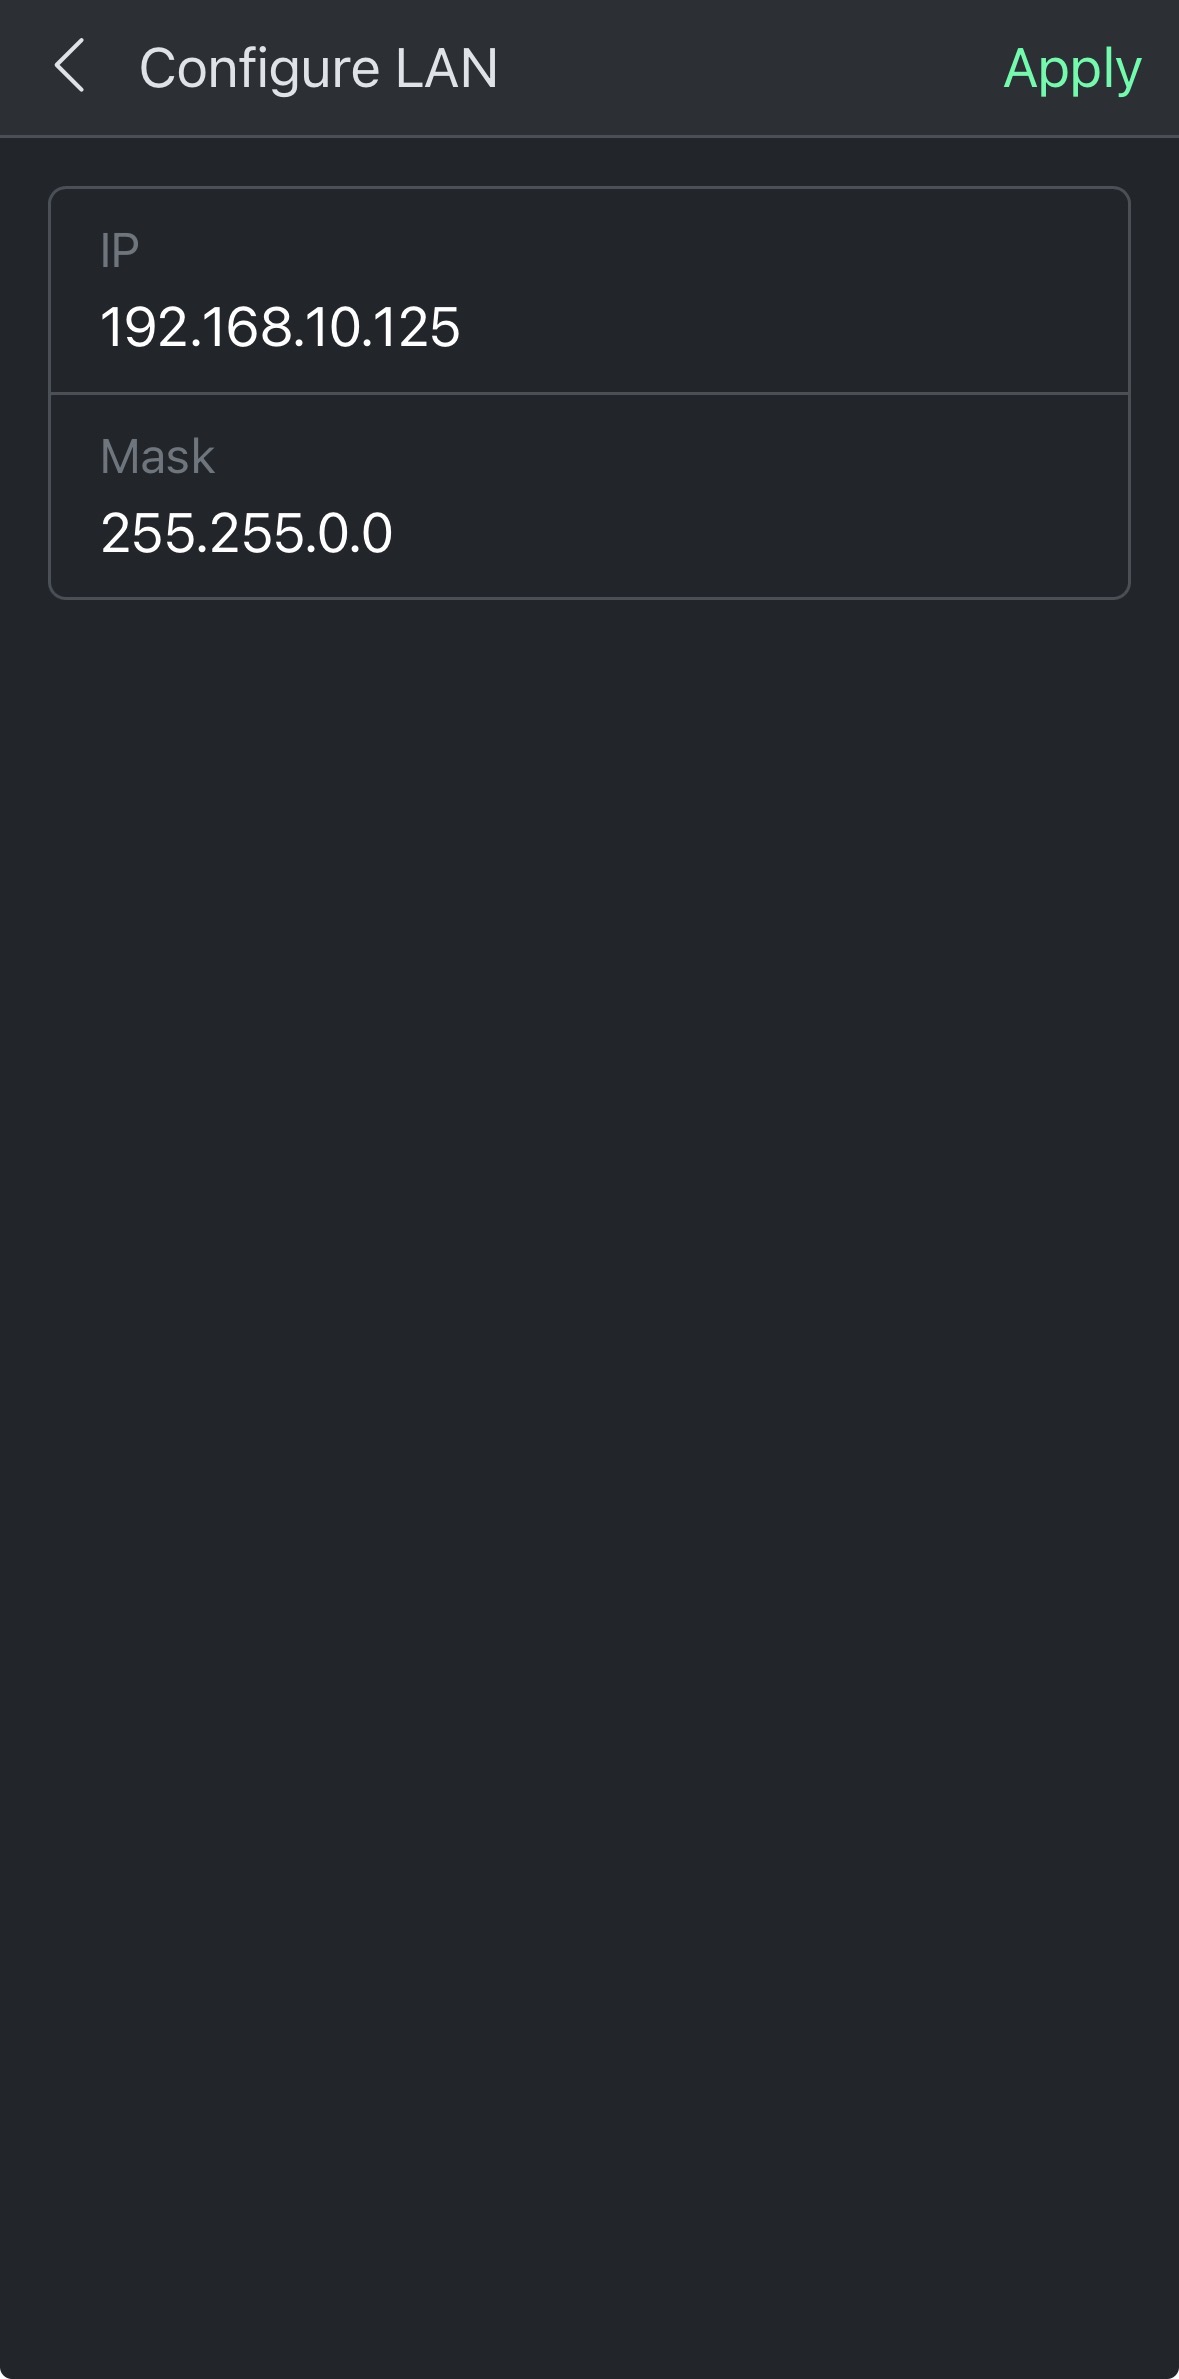
Click the “Configure LAN” button to set a new static IP address or subnet mask for LINUS Control to connect to. Click Apply after making changes in the “Configure LAN” dialog.
3.4 Snapshots#
The LINUS Web App can recall Snapshots that have been saved on the amplifier by LINUS Control, or save and recall new Snapshots without connecting to LINUS Control.
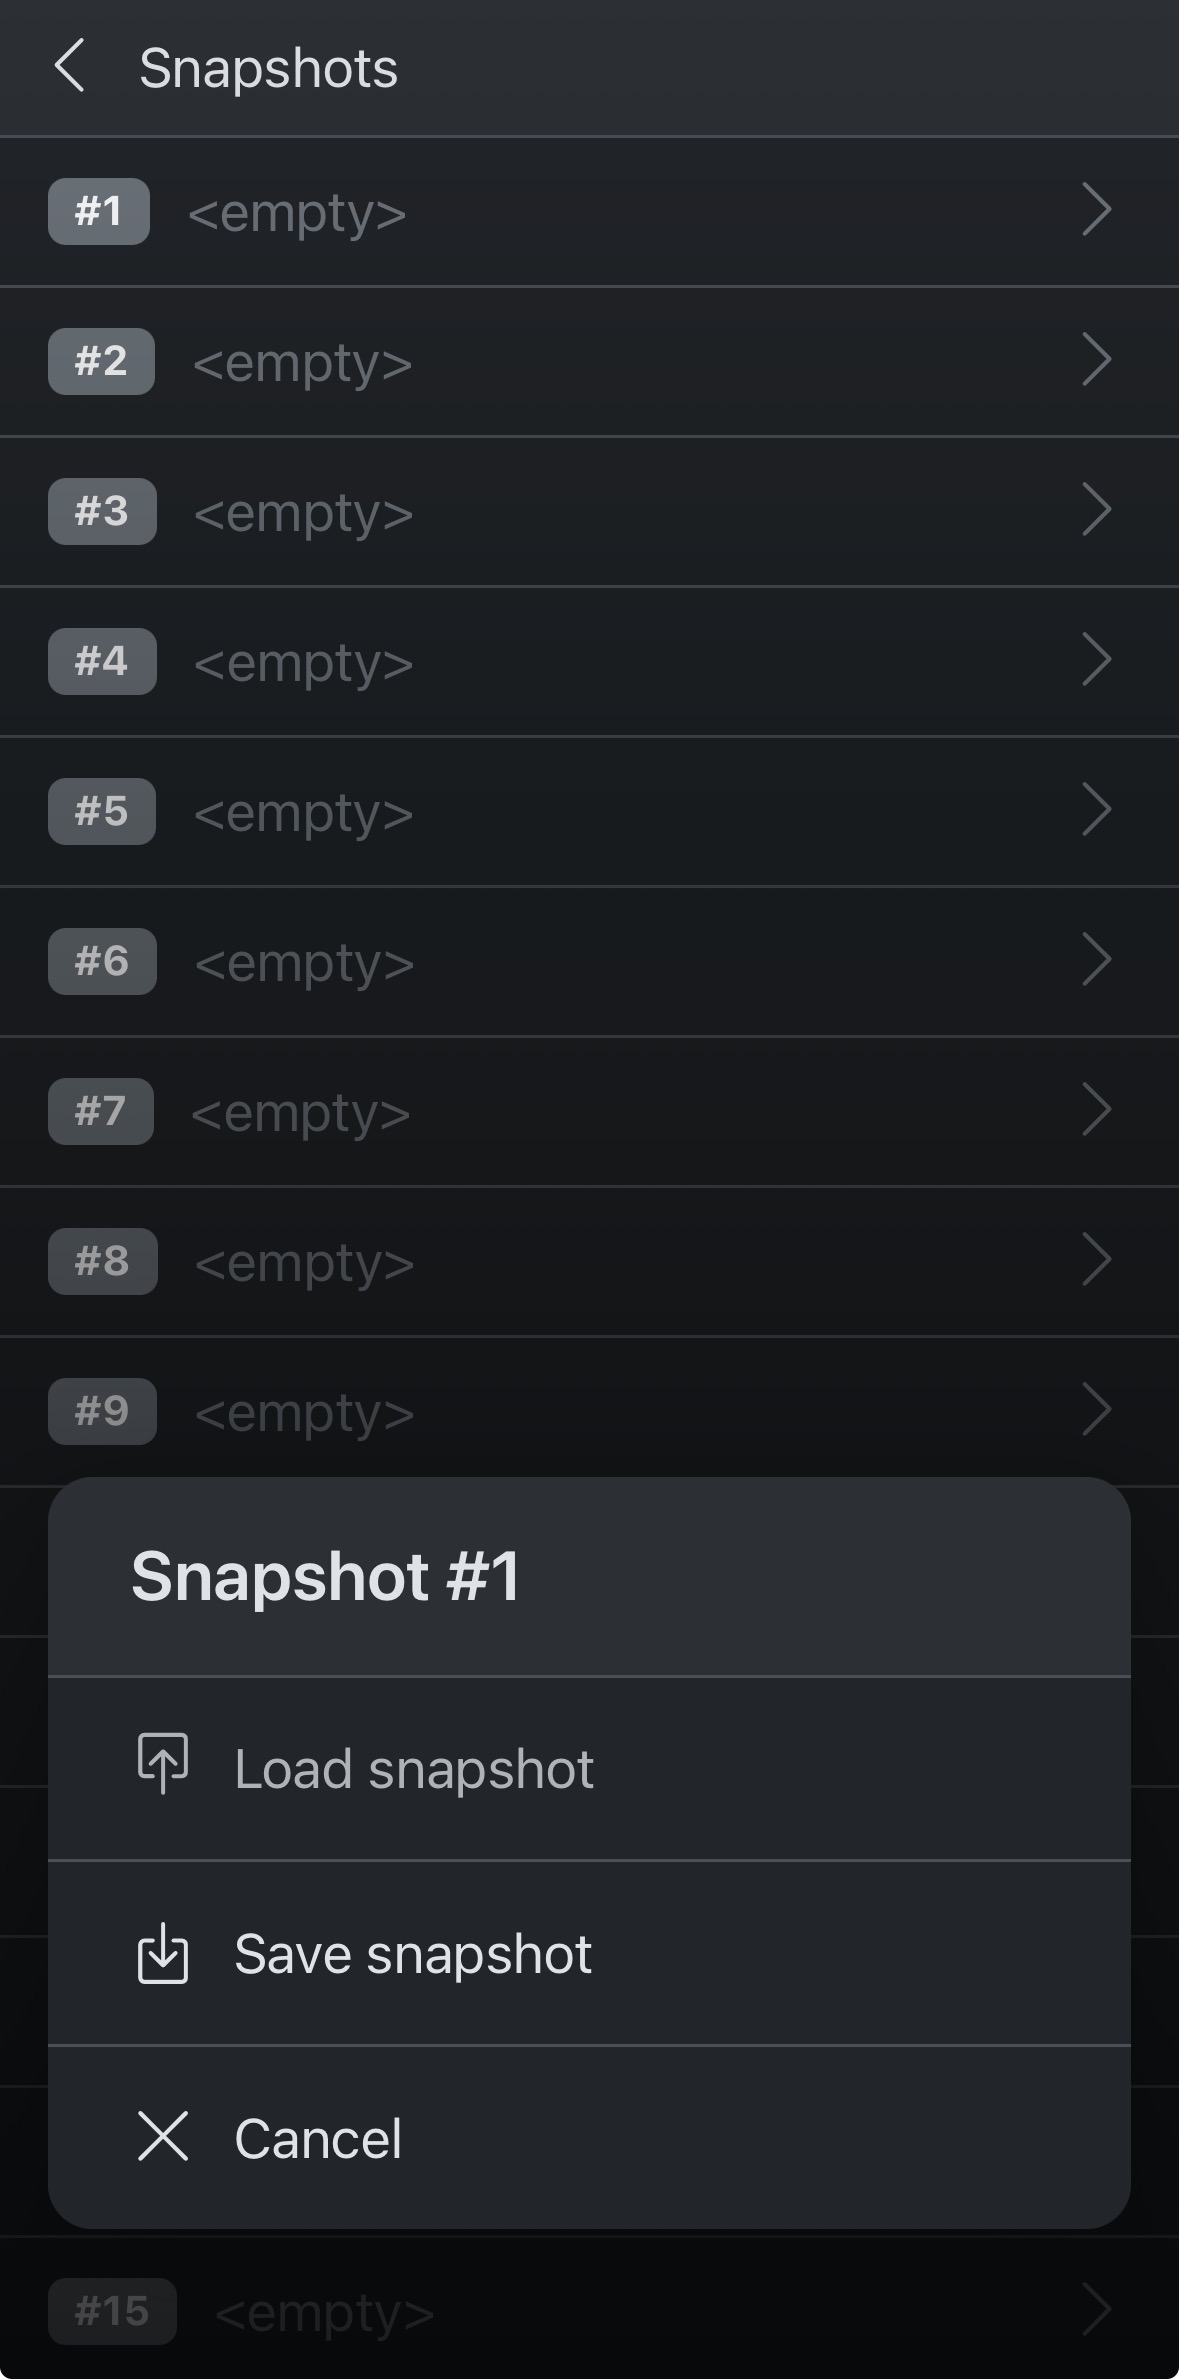
There are 20 Snapshot slots available on LINUS amplifiers, which are empty by default. After selecting one of the slots, a dialog with the options “Load snapshot” and “Save snapshot” opens.
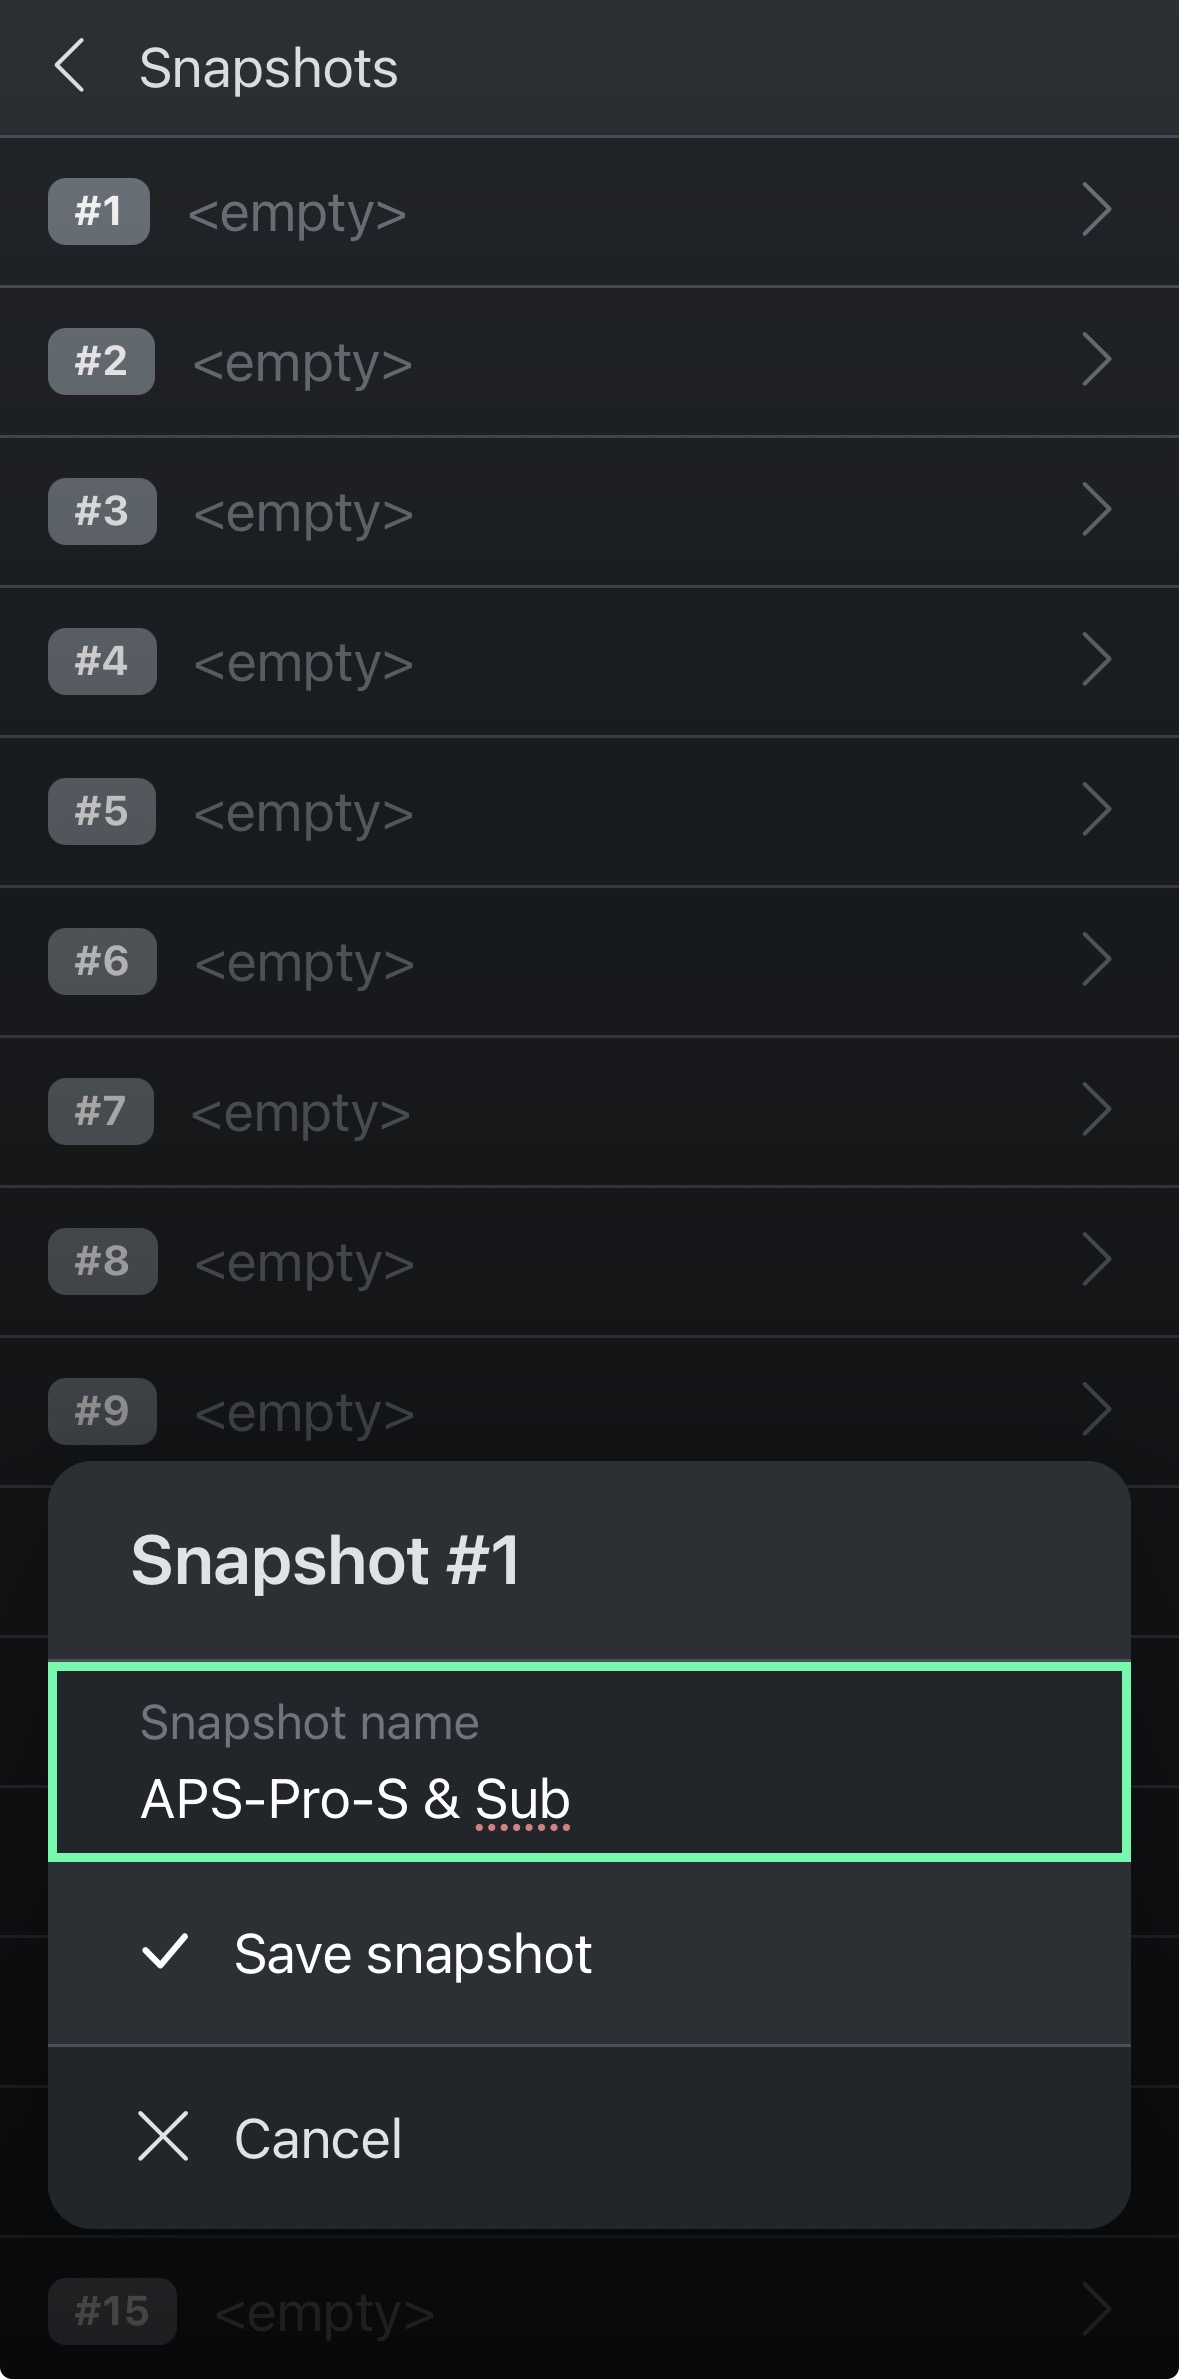
After selecting “Save snapshot”, a name for the new Snapshot can be entered, and confirmed by clicking “Save snapshot”.